Clay crafting is almost as old human civilization. As the wave of time moved forward, this art form has evolved in sophistication. Today it is a very enjoyable hobby for many.
Nelmari, owner of A Peace of Art, says, “Clay crafting is special because you don’t need high-end equipment or special training, just a desire to create. It is enjoyable and relaxing.”
From creating small decorations to elegant pottery, the art of clay crafting offers everyone a variety of ways to express their inner creativity.
History of Clay Crafting
As one of the more well-known forms of art, clay crafting dates back thousands of years. The earliest clay artefacts were discovered in China, Mesopotamia, and Egypt.
These ancient civilisations used it to create essential items from bowls to bricks. Over time, though, it became a form of storytelling with examples of this primarily being seen in Greek Pottery, Roman Sculptures, and many figurines found throughout Asia and Africa, with each culture having developed its own styles.
Nelmari says that, “Today, clay crafting is a therapeutic hobby.”
What Is Clay and Where Does It Come From?
Clay is a completely natural material that is formed when rocks weather and erode. The small bits that break off from the rocks travel to settle in riverbeds, lakes, and soils, slowly being transformed into a soft and mouldable material.
However, that is not where the journey of clay ends. When placed under a high temperature, this mouldable material hardens into a stone-like state that is still durable. From there, a variety of clays can be manufactured, each used for a different purpose.
“From stoneware to porcelain, each form serves a purpose for artists,” says Nelmari.
Supplies and Equipment Needed for Clay Crafting
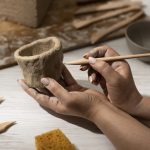
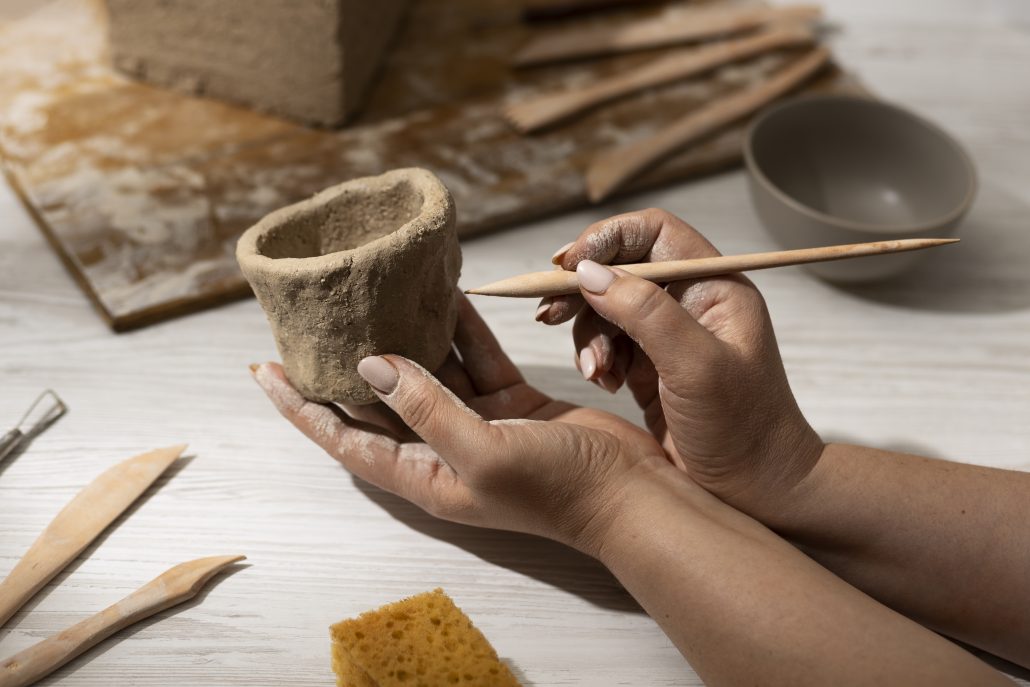
Clay crafting only needs a few basic tools. Supplies that are essential include clay, a work surface and shaping tools like wooden sticks, wire cutters, and sculpting knives.
Water and sponges keep the clay moist and smooth for an easy process. Beginners use an air-dry clay for easy crafting at home while advanced artists use a potter’s wheel and a kiln.
How to Go About Clay Crafting
Now, for the final question, how does one get into clay crafting? Well, according to Nelmari, the process is simple.
Preparing clay properly is one of the most important steps before you start sculpting, throwing, or hand-building. Here’s a clear step-by-step guide to preparing clay for claywork:
Choose Your Clay
Different clays suit different projects:
Earthenware: Great for beginners and decorative pieces; fires at lower
temperatures.
Stoneware: Strong, durable, good for functional ware like mugs and bowls.
Porcelain: Fine and smooth, but tricky to work with—best for advanced potters.
Air-dry clay: Ideal for crafts that don’t need firing.
If you’re using recycled clay scraps, make sure they’re clean and free of debris.
Dry or Rehydrate the Clay (if needed)
If your clay is too dry:
Break it into small pieces, put them in a bucket, and add water until just submerged. Let it sit overnight, then stir into a smooth slurry and let the excess water evaporate until it’s workable.
If your clay is too wet:
Spread it on a plaster bat, absorbent board, or even a thick towel to draw out moisture until it’s firm but pliable.
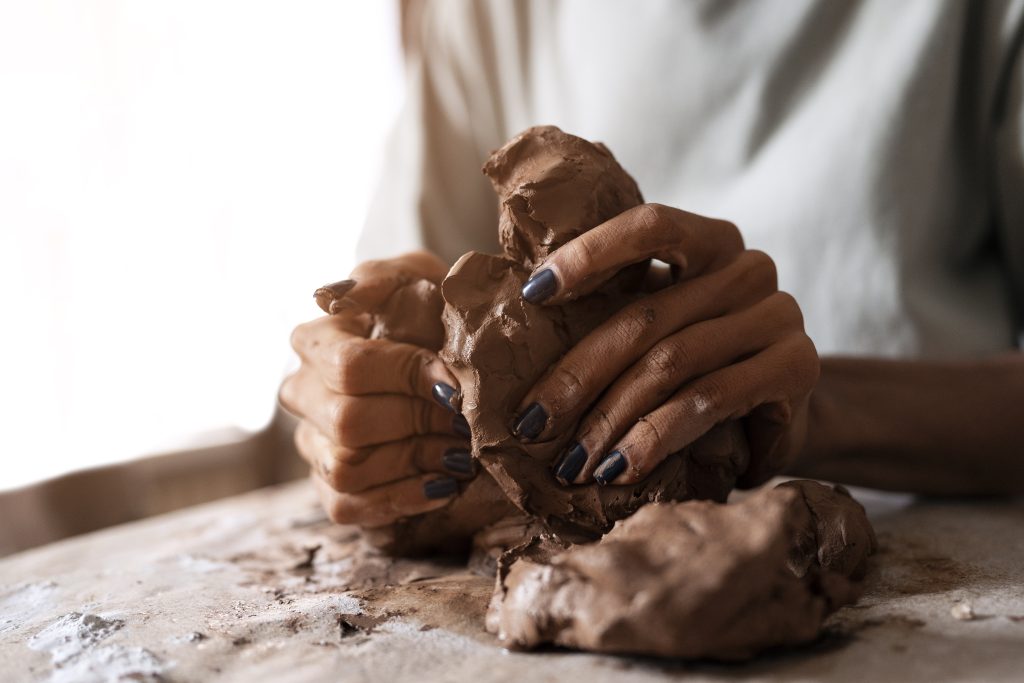
Wedge the Clay
This is crucial—it removes air bubbles and ensures consistent texture.
There are two common wedging techniques:
Ram’s Head Wedging:
Push the clay forward and down with your palms, then roll it back toward you. Repeat this rhythmically until the clay feels even.
Spiral Wedging:
Twist the clay in a spiral motion (like kneading dough), ideal for large pieces or throwing on a wheel.
You’ll know it’s ready when:
It’s smooth and even in texture.
It’s firm but not stiff.
There are no visible cracks or air pockets.
Cut and Slam (Optional but Helpful)
If you suspect there are still air pockets, cut the clay block in half with a wire cutter, slam one half onto the other, and repeat several times. This further compresses and homogenizes the clay.
Store Properly
If you’re not using the clay right away:
Wrap it tightly in plastic.
Store it in a sealed bag or bucket.
Add a damp sponge or cloth to maintain moisture.
Ready for Claywork
Once the clay is soft, smooth, and bubble-free, it’s ready for:
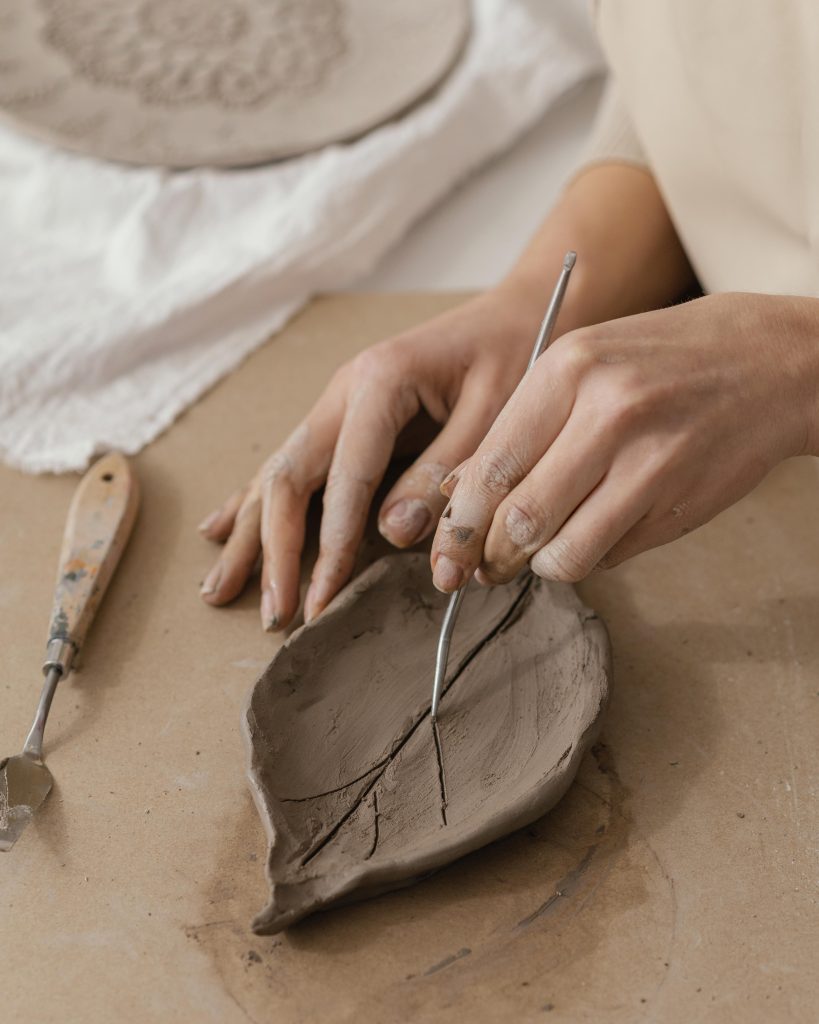
Hand-building (pinching, coiling, slab work)
Wheel throwing
Sculpting or modeling
“Clay crafting is a creative journey. Every piece is a testament to the patience and beauty of hand-made work,” says Nelmari.
Contact A Peace of Art for all your equipment and classes
Facebook: @apeaceofartcreativeartsandcraftsworkshops
Instagram: @apeaceofart
Port Elizabeth: 85 Main Road, Walmer. Tel: 072 304 0797
Bloemfontein: 7 Avenham Street, Avenham. Tel: 076 192 1637
Click here to read similar articles
For more articles like this click here.
If you enjoyed this website then check out our other sites: Wedding and Function, Home Food and Travel, Thirsty Traveler, Boat Trips for Africa, Bargain Buys, Business Link.
Need help with your online marketing then visit Agency One.